I thought I'd share my process and some of my favorite studio supplies for those of you who are interested in learning more about how Lux Eros ceramics are made or want to start making ceramics yourself. Because my ceramics are all hand-built, meaning I do not use a pottery wheel for anything, my process may not be what you imagine making pottery to look like. I will link to my favorite products so if you are thinking of starting your own studio or getting into hand-building you know where to start!
Slab Rolling:

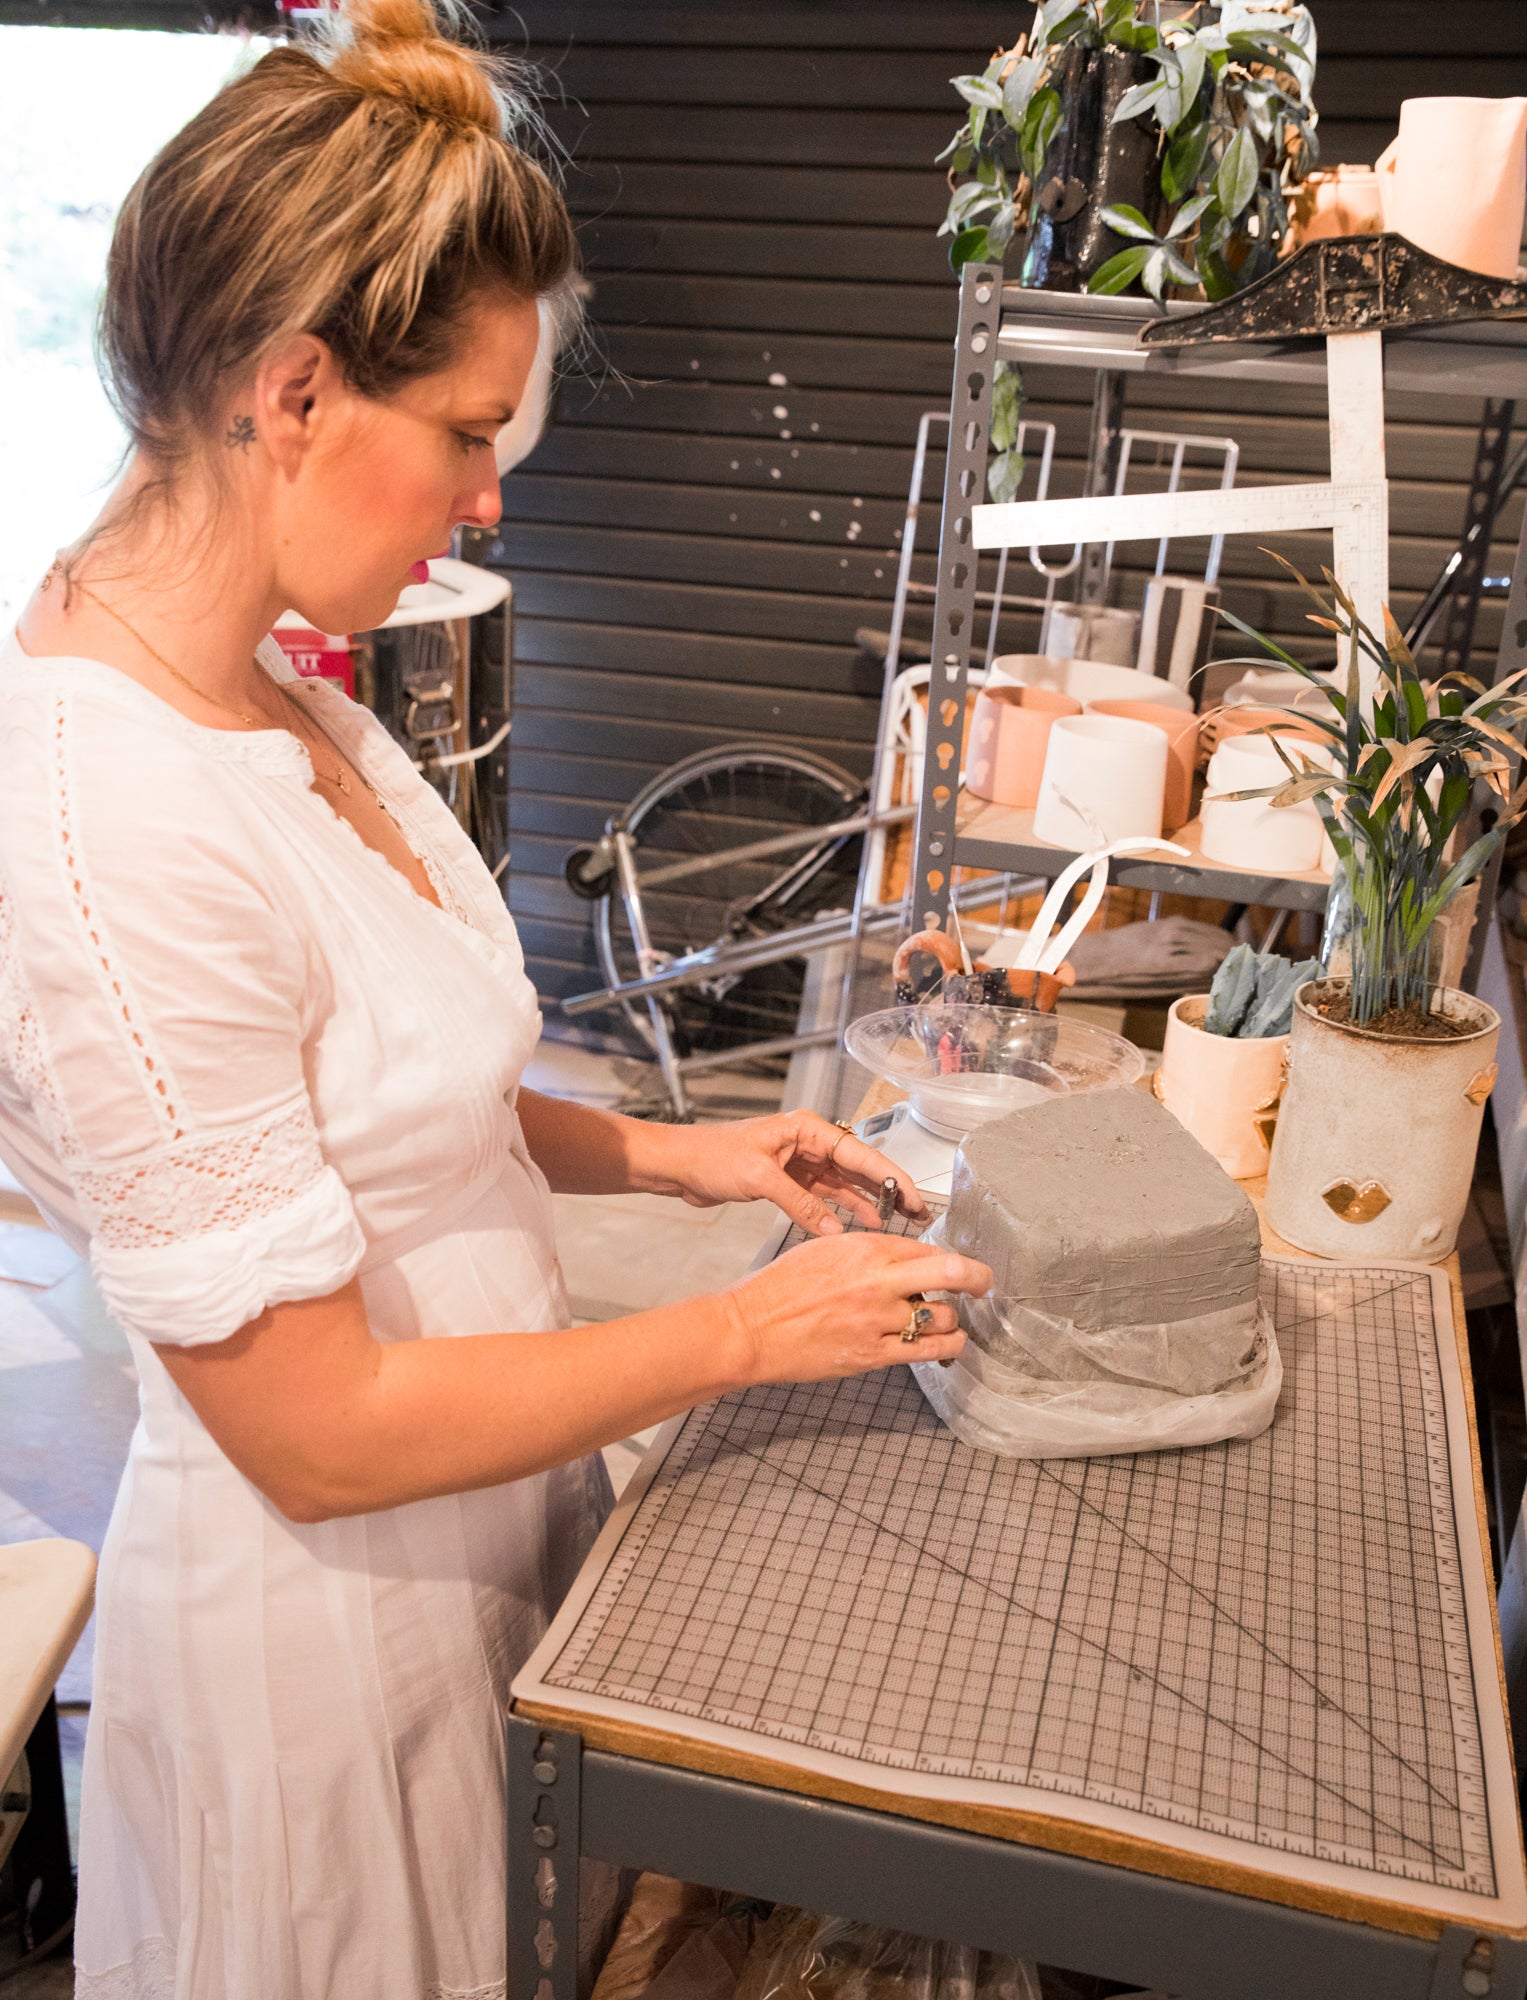
For hand-built ceramics, you will probably want to use a slab roller to start. If you don't have access to one or would like to buy one I will link to a few in my shopping links at the end of this post. Rolling your clay using a slab roller isn't your only option, you can use a pin too, but it's much more work. One of the reasons why I chose hand-building was wheel throwing was so hard on my already bad back - the kneading clay and bending over the wheel was killing me!
Speaking of kneading clay, no need to do so when with slab rolling. (see what I did there lol). Because most clays have already been shipped with the air bubbles removed and you don't have to form your clay into a ball like you do with a wheel, you can simply just cut your clay and go using these steps:
- Cut your clay to the desired amount using a wire
- Place your clay between two pieces of canvas on the slab roller close to the compressor so that there is enough distance for your slab to flatten out and not extend past the canvas.
- Depending on how wide / long you would like your piece, you may have to pick up the clay (gently!) and rotate it the other orientation so that you can make it wider or longer. You should set the slab roller at a wider setting at first and keep setting it smaller and smaller with each pass rotating it around to get the shape you desire. A lot of people might tell you not to do this, but it's what works for me.

Using wire cutter to cut clay
NEXT...

The next thing I do is move my slabs to a silicone baking mat which is smooth that the clay won't stick to. I bought a bunch of the thin pastry mats (see link in supply list).
Once my clay is on the mat I use a sponge to smooth out the canvas texture. I then let it sit for a while to firm up (just a little now!) so it's easier to shape. if it's sunny, I put the slabs out into the sun to speed up the process a little.
Once your clay is a little more firm, and again, I mean a little more. Not leather hard -just enough that you can shape it without it flopping over on you. You can now shape your piece. Hand building gives you a lot of options for shapes that you would not have with the wheel. I personally like really simple forms that I can almost use as a canvas for experimenting with texture and glaze techniques. But you can make whatever geometric shape you can think of really.
Here are some examples of how I use simple shapes to highlight the textures and glaze techniques I feature in my work:


Shaping Your Clay:
The next thing I do, once my clay is firm enough, is use an L shaped ruler to measure and cut my clay. For the cylindrical shapes its fairly easy because they are just rectangles. For the bowls and platters I use slump molds (which I will cover in a future post so stay tuned!)
- For a simple shape like a cylinder, stand your clay up on it's edge and shape it.
- Have a bowl of water ready with a paint brush and sponge
- Use your wire texture tool to scrape the edges then add some water - this process is called slip and scoring. It creates a kind of glue for your edges to attach to each other. I also use this process to add the lips on my Kiss Collection pieces as well as my handles and bases.
- I let the piece dry a little bit more before I add my bases. After the base is put on, I shape shape a bit more, trim and add any other details that need to be applied with the slip and scoring method.
- Once you are done, cover your piece well and let fully dry (up to a week) before you bisque fire.
Here's a little time lapse of me making my Kiss Mug to give you an idea of the process
Shopping List:
For those of you who are looking to set up your own studio, here is a list of my favorite studio basics you will need to set up a hand built ceramics studio. The shopping links will appear after the list:
- Slab roller - I use a Shimpo
- Kiln - I use an electric Skutt kiln ( I love it and I love their customer service)
- Clay - I use Laguna Clay and I recommend you start out with a low fire (cone 04 -06)
- Canvas - Your slab roller will probably come with it but you can buy it in a roll and cut it down to fit the width and length of your slab roller.
- Pottery tools: needle tool, sponges, wire texture tool, paint brushes, bowls for water and drying mats.
Here's are some links for products that you can use in even a tiny studio space or at home:


